Tag: EQL

Updating the firmware on Dell EqualLogic arrays with Dell Update Storage Manager

The Dell Storage Update Manager (DSUM) is a great new tool that makes updating your array firmware, drive firmware  and language packs easier. Launched summer 2014, this application that can be installed locally or ran remotely via a java based app, is your new recommended way to update your groups.  To use it, you must be running at least v5.0.0 PS series firmware or FS series firmware 3.0.0 or higher.  This wizard will walk you through assessing the current state of your groups and guide you through the updates step by step.

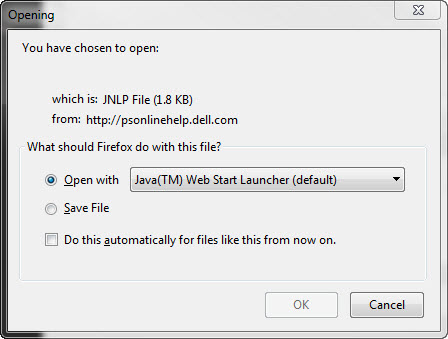
To download the application, login to your EQL support account. Also, download your firmware, disk drive firmware and your language packs (if applicable). To run the java web app, follow this link

http://psonlinehelp.dell.com/dell-storage-update-manager/

and open with Java web start launcher.

launch java app

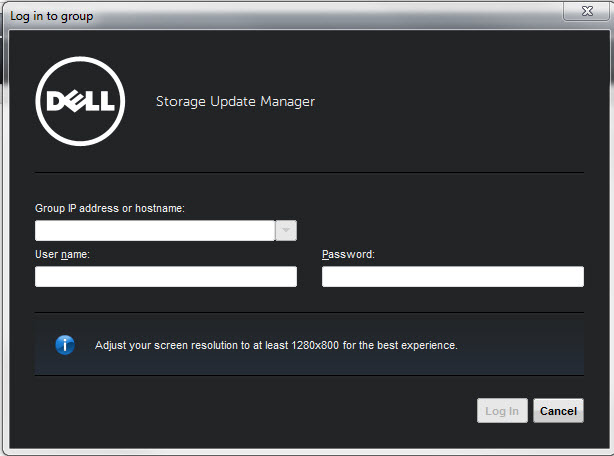
Log into your group with administrative credentials.

Dell Storage Update Manager Login

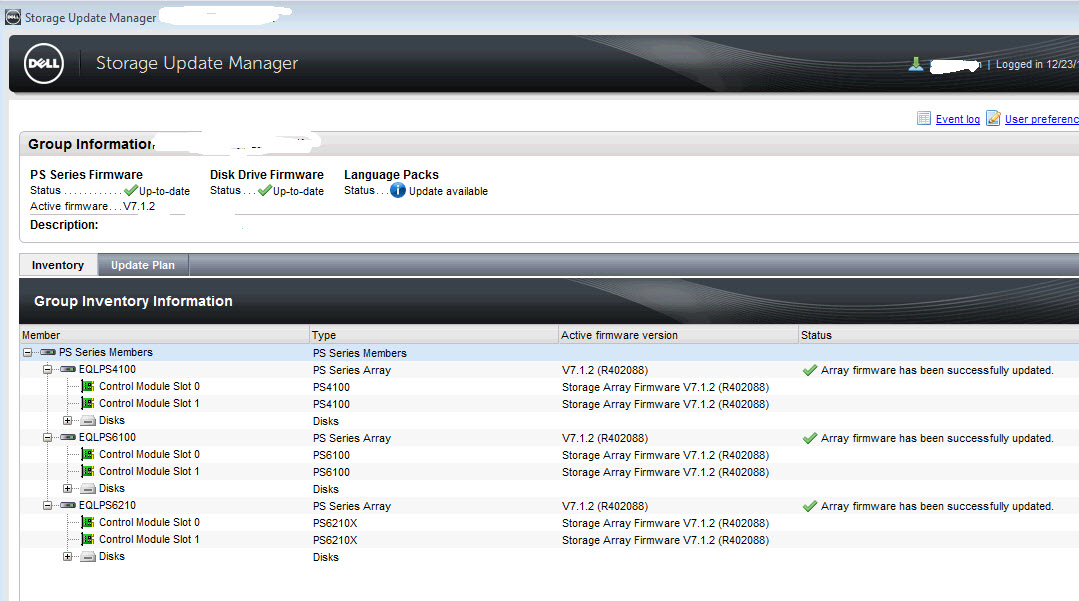
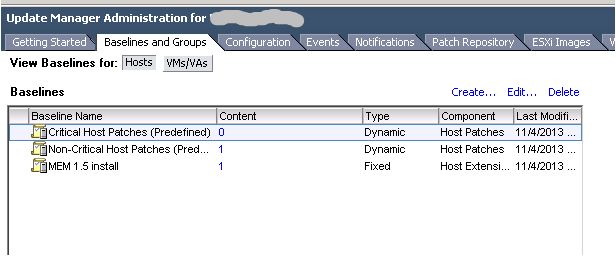
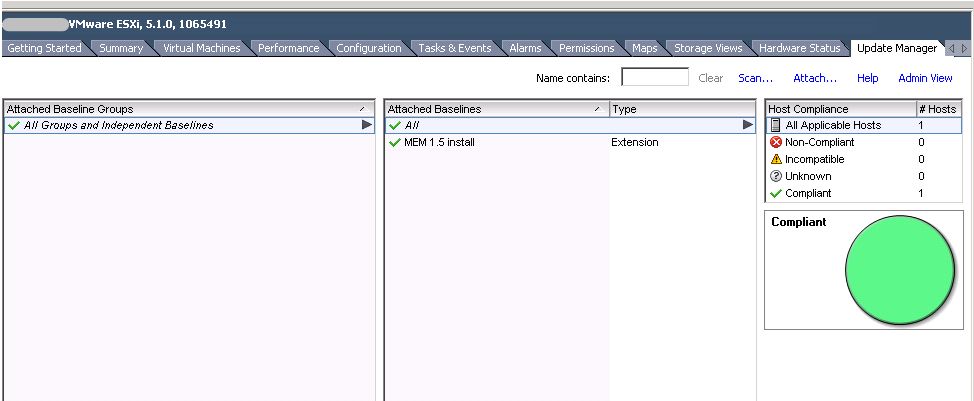
Once logged in, you can review the status of your group firmware, disk drive firmware and language packs.

group inventory overview

Click on Update plan to being the update wizard.

selectupdates

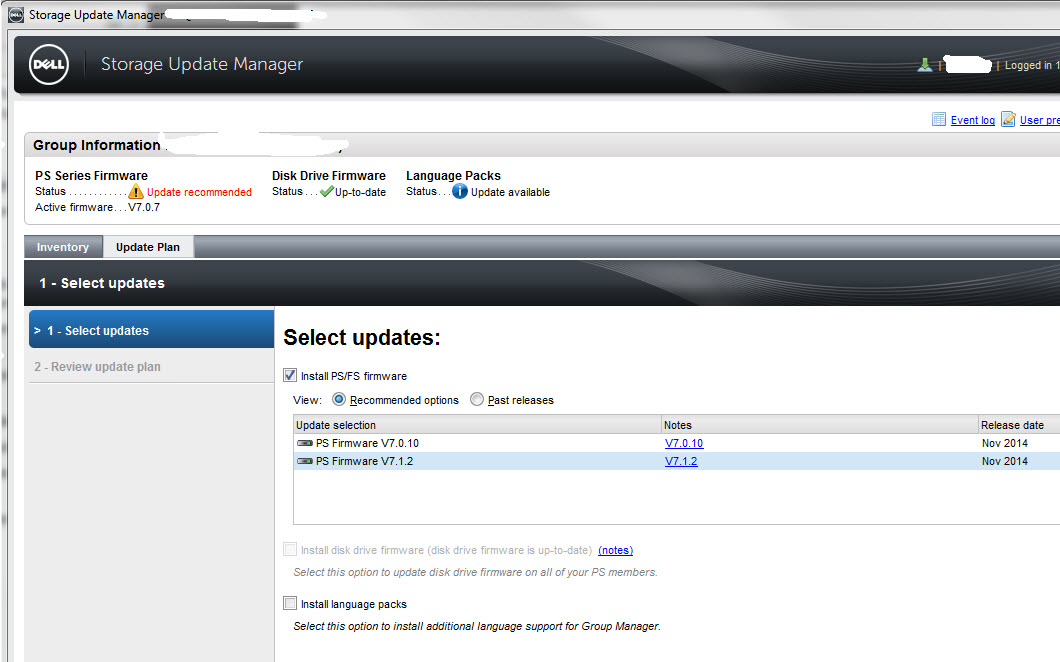
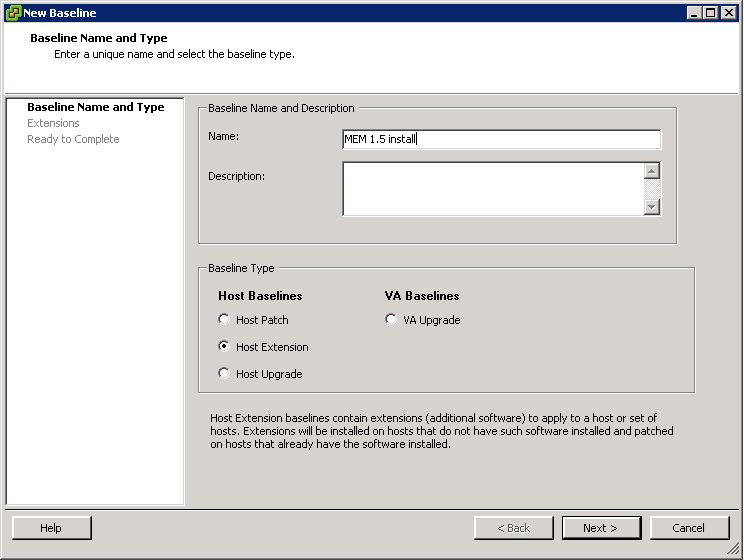
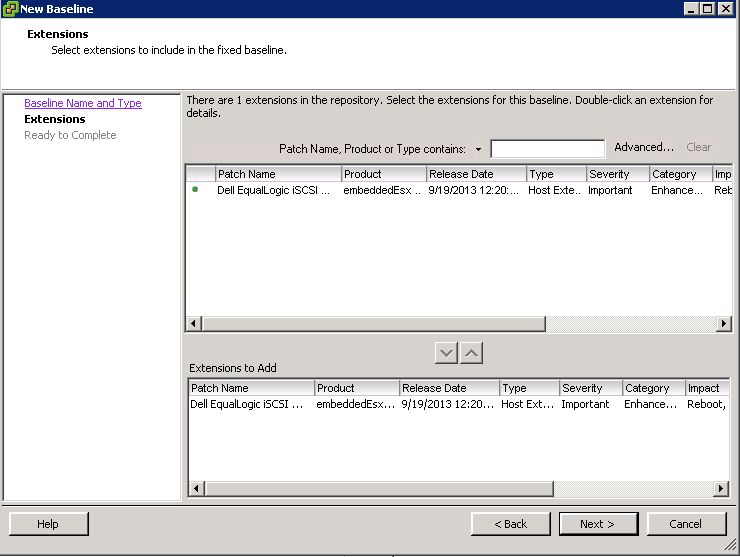
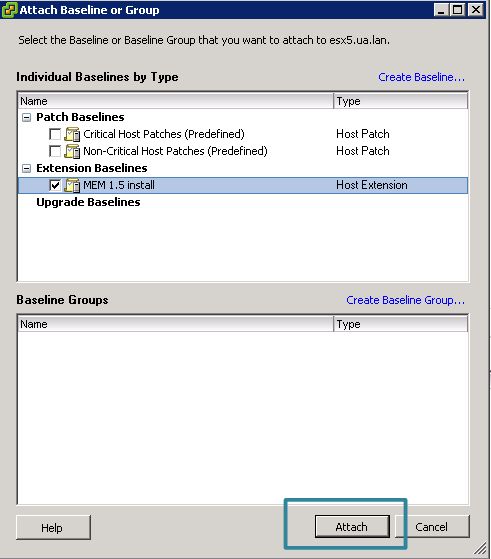
Here is where you select the updates to be installed.

update plan summary

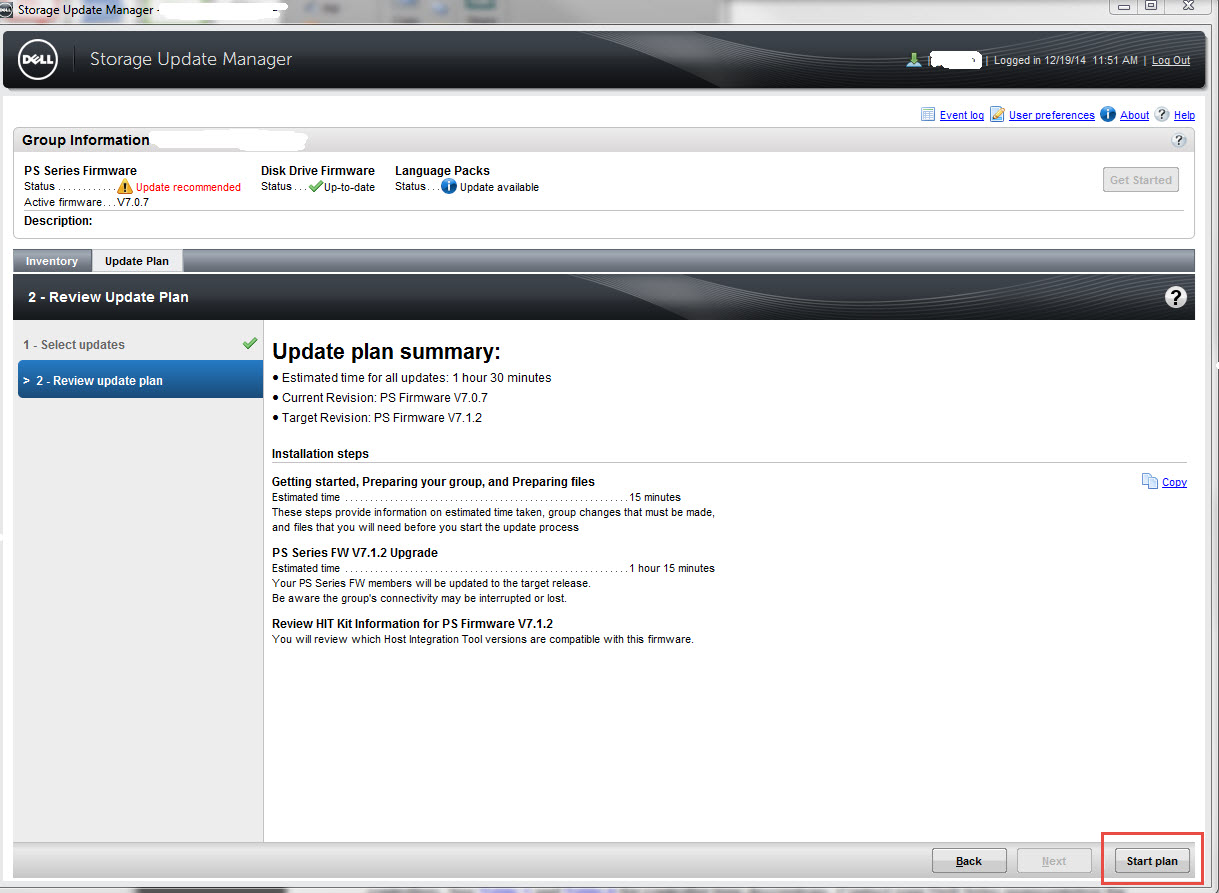
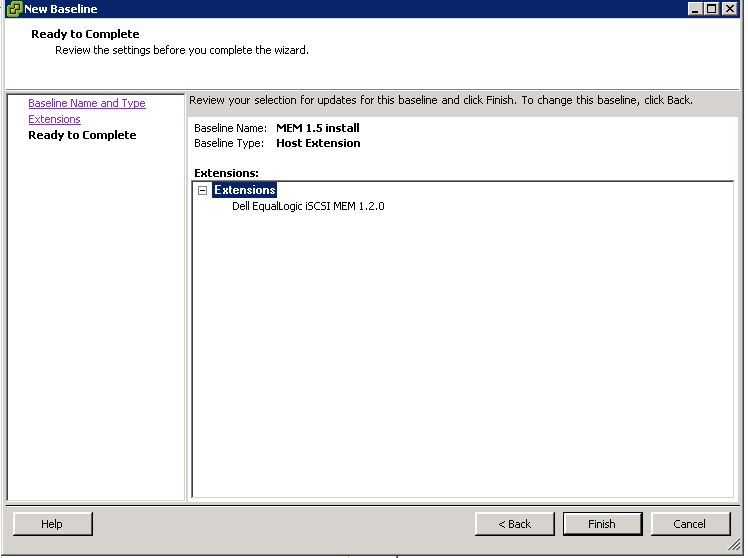
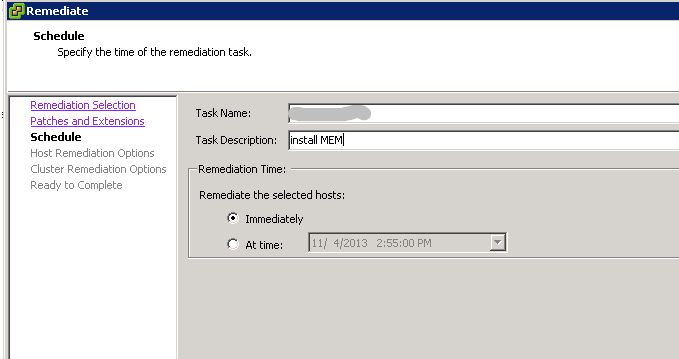
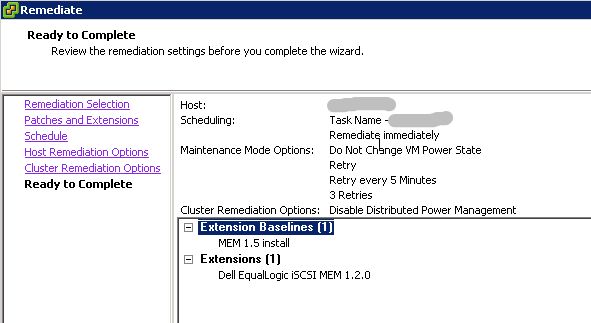
Review  the updates you’ve selected. The Update plan summary will give you an estimated time for the updates to completed.

Getting Started

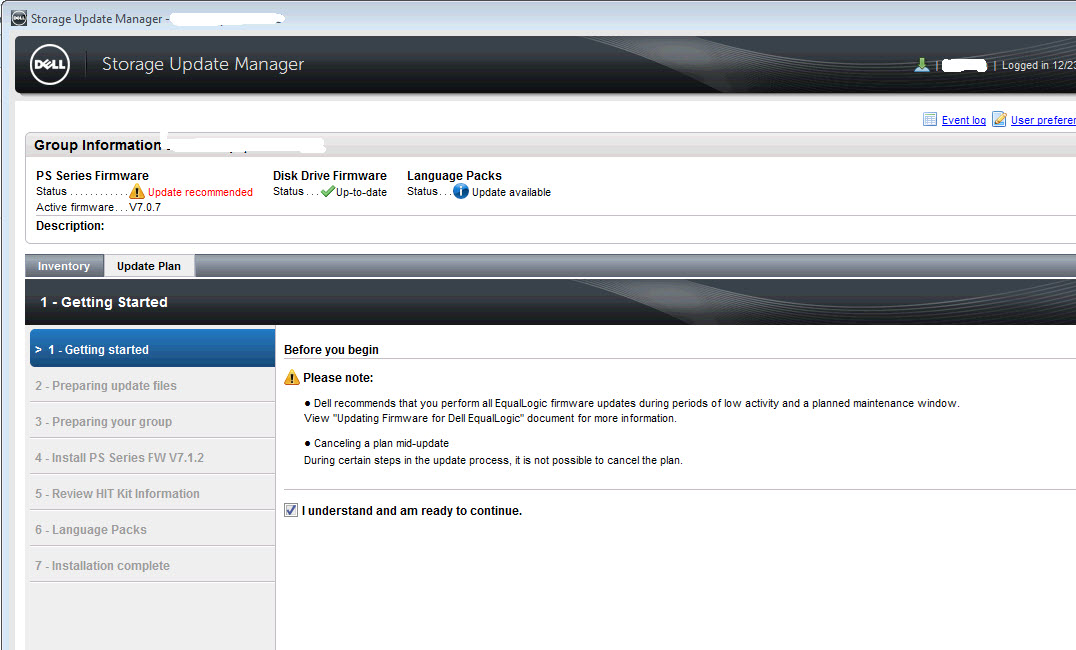
On the getting started screen, you’ll get a quick reminder to perform the update when their is low activity and during a pre-planned maintenance windows.  Check the box to confirm you understand the ramifications.

Preparing your update files

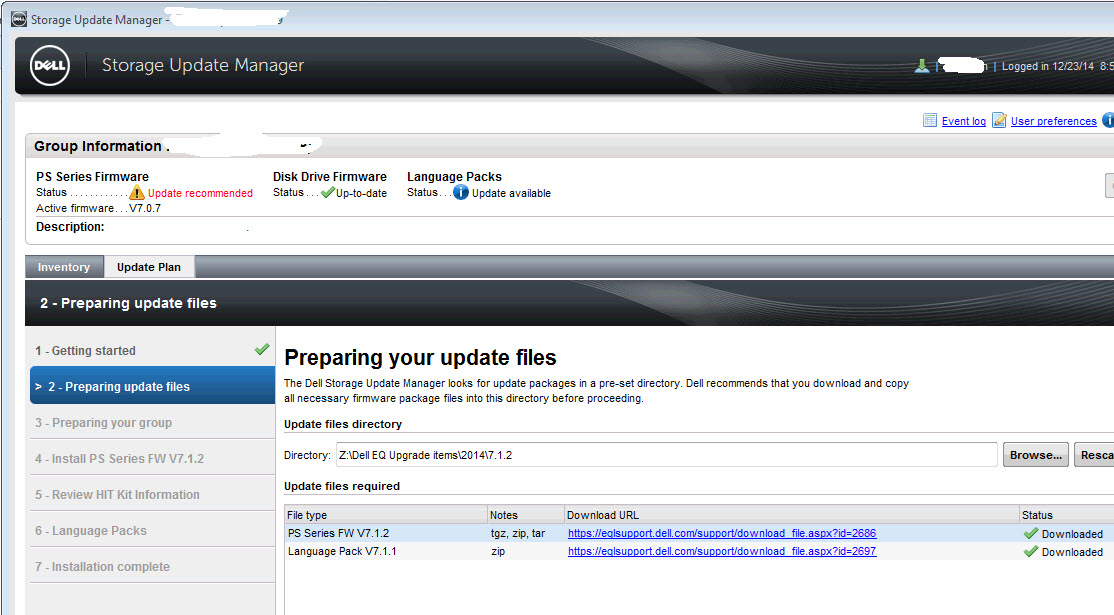
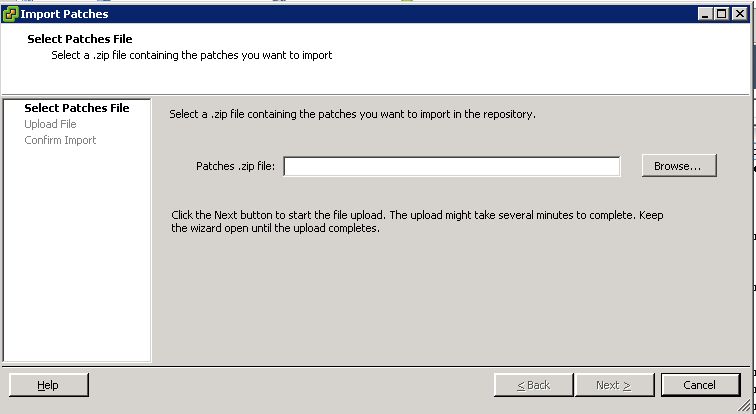
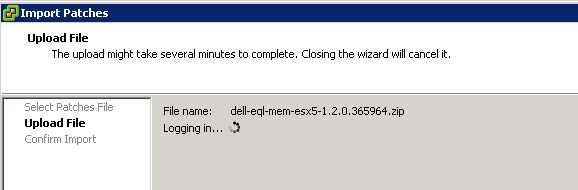
Upload the files needed to update your array, drives, and language packs.

Prepare your group

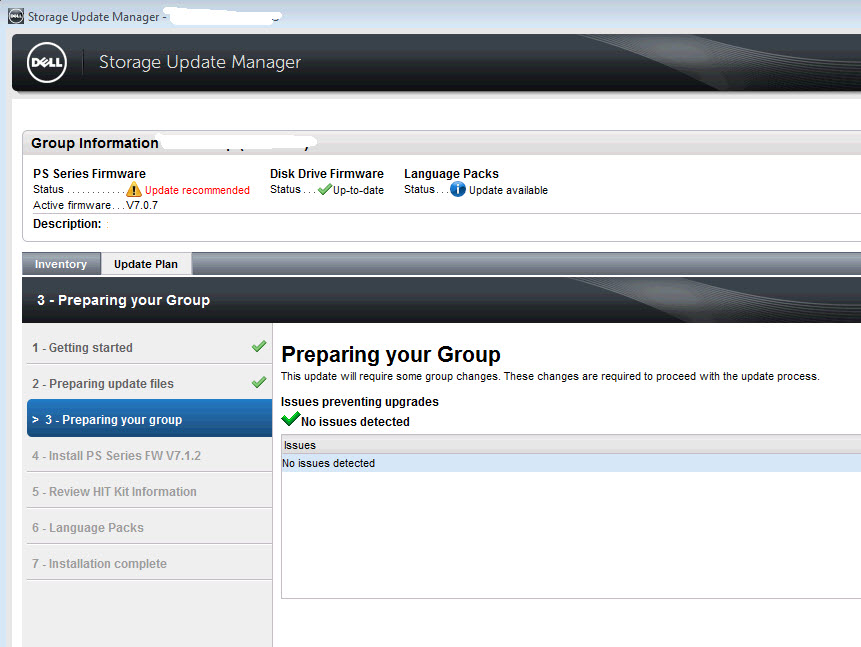
The app will review if their are any issues detected on your group that may prevent updates from running. Some issues that may prevent an update are:

  • RAID is in a degraded state
  • There are active errors or warnings in the log file
  • There are disk errors or issues
  • Controller issues
  • Space issues
  • High I/O
  • Replication is occurring
  • Volumes are migrating

Install Updates

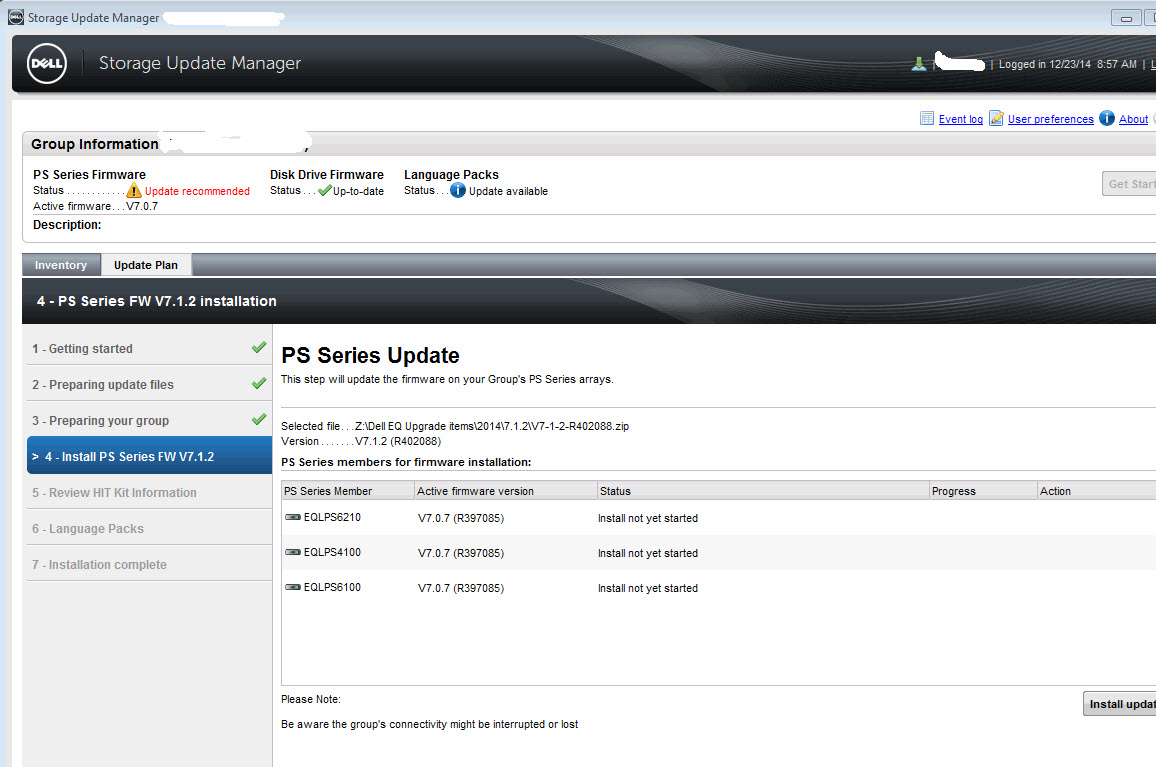
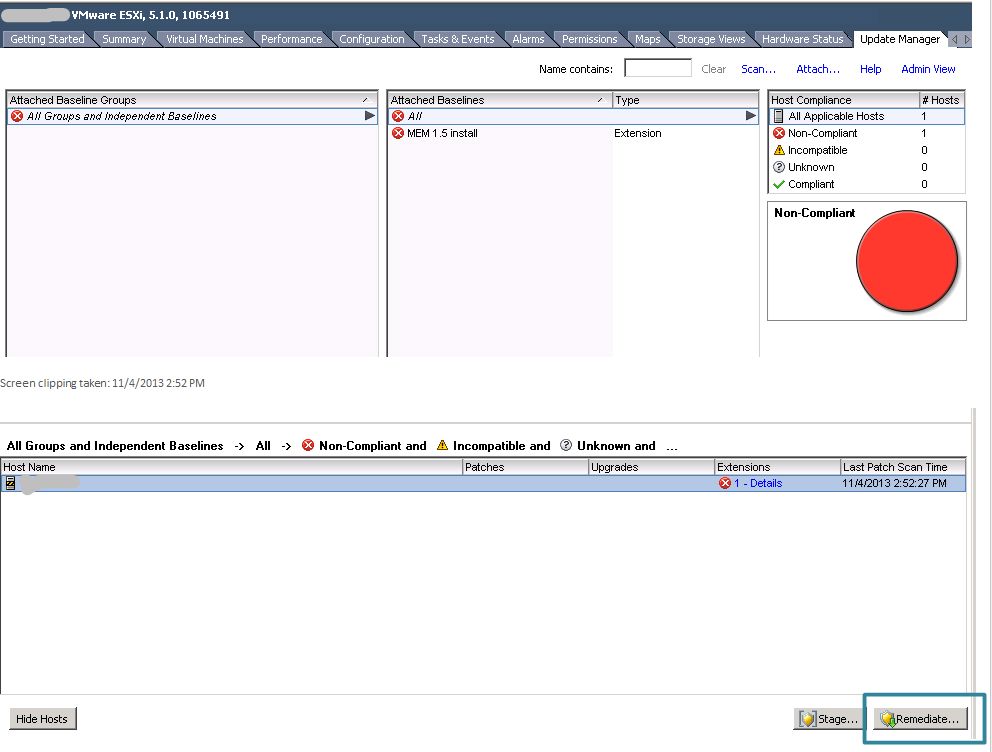
The next screen in the wizard is the 1st step in updating your array’s firmware. Review the information and click install update.

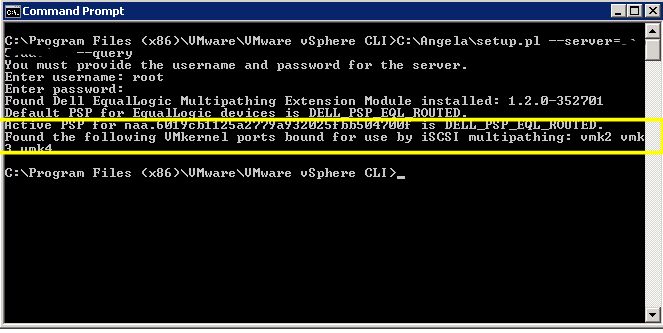
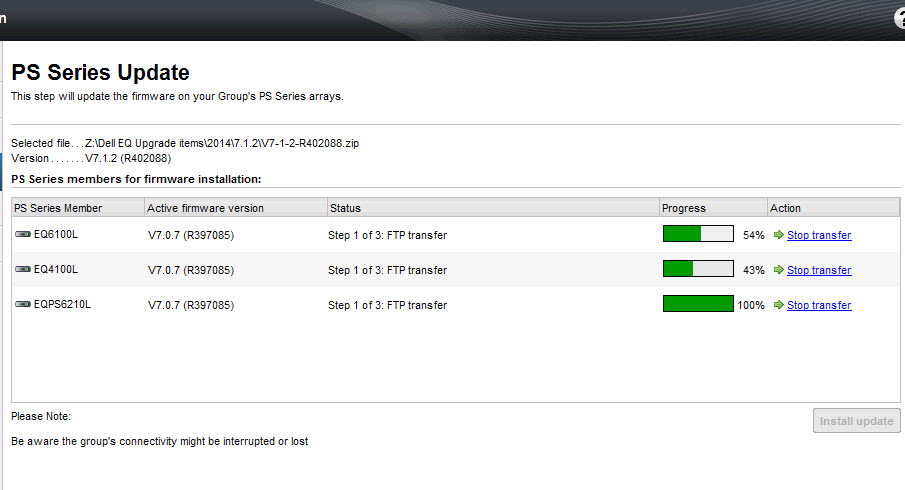
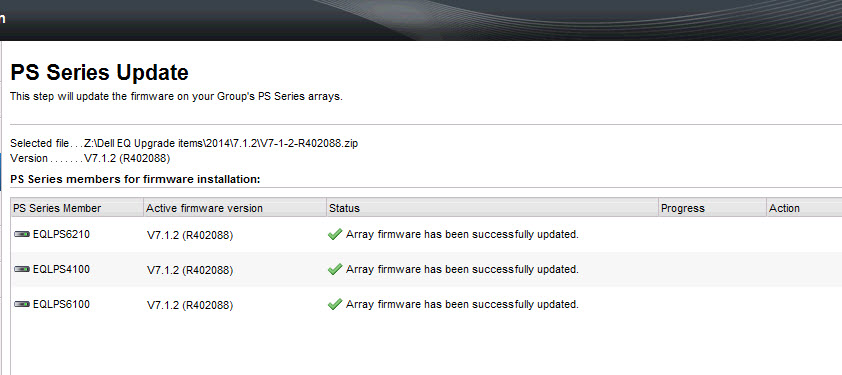
The installation begins and will display the progress  and the current status. you can also review this information in group admin under group operations.

  • The 1st step is the FTP transfer of the zip file to the array.
  • The 2nd step is the actual update.
  • The 3rd step is the update pending restart.

step1

step2

step3

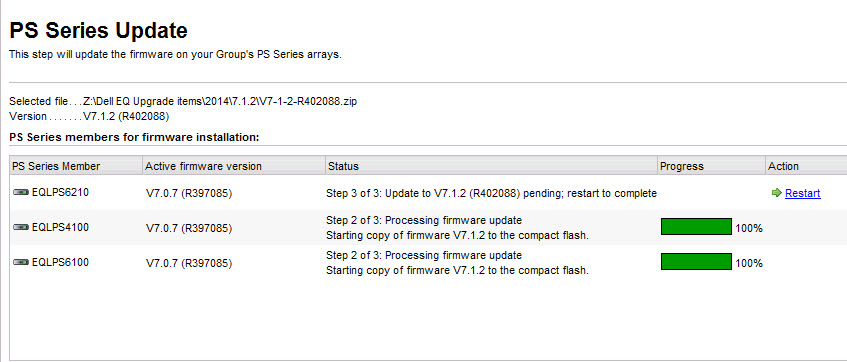
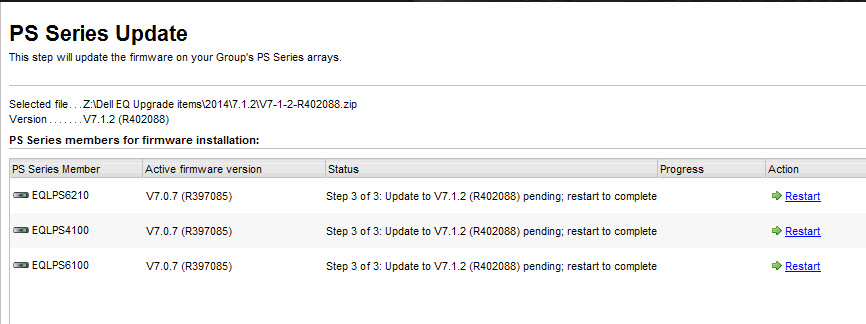
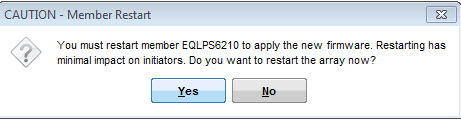
Once the update is complete and pending a restart, click ‘restart’ to proceed.  You’ll be  warned about the restart and it’s ramifications. Repeat for each array.

restart

complete

The update is complete. The HIT Kit compatibility screen with remind you to confirm that all EqualLogic software in use in your environment  is at the versions listed.

hit

Follow the subsequent prompts for updating the drives and language pack (if aplicable)

Once all installs are done, you’ll get the ‘installation complete’ screen that summarizes what took place.

installcomplete

update successful

Configure and Install the Multipath Extension Module for vSphere and EqualLogic

The MEM (Multipath Extension Module)  by EqualLogic (EQL) handles path selection and load balancing to the storage array. Upon install, it will add another path selection policy called ‘dell_psp_eql_routed’ in addition to the 3 default policies. Using this PSP is ideal when you’re datastores reside on EQL since the module is written by EQL, it has been designed to perform more efficiently in regards to path selection and load balancing to the array.

Here is how I installed and configured MEM on my esxi hosts. I’m running ESXi 5.1 Update 1 with vSphere CLI installed on vCenter.

Prerequisite: Be sure to configure an iSCSI vSwitch for multipathing before installing MEM. Please read  TR1075 for more information on how to configure the vSwitch.

Download MEM from EQL support site. Login is required. Review the release notes, TR1074 as well as the installation & user guide before proceeding.

On the vCenter server,  launch vCenter client. From the home screen, open Update Manager and click on the patch repository tab. Click import patches and browse to the MEM offline bundle zip  and click next to upload.

import-mem-offline-bundle

browse-mem

upload-mem

Next, create a baseline. Enter a name and description for your new baseline, select ‘Host Extension’ then click next.

newbaseline1

Add the extension to the baseline. Click next.

newbaseline2

Review your  setting and click finish.

newbaseline3

Your newly created baseline is now listed under the Baselines and Groups tab.

baseline-and-groups

Now it’s time to install. Begin by putting your host into maintenance mode.Click the update manager tab of the host and click attach.

attachbaseline

Check the box next to the MEM install and click attach.

attachbaseline2

Highlight the attached baseline and click scan.
scanhost

Confirm that you’re scanning for patches and extensions. Remove the check next to upgrades. Click scan.

confirmscan

The host will now be labeled as non-compliant. Click remediate in the lower right corner.

remediate

Click next twice in the remediate wizard if you’re accepting the defaults. On the schedule window, type in a new task name and description (optional) and select a remediation time. I did mine immediately, but this task can be scheduled for a later time. Click next.

remediate-sched

Edit any host remediation options and click next. Edit any cluster remediation options and click next. Review your remediation settings and click finish.

review-remediate

Monitor the recent tasks pane to see the status of the installation. Upon completion, the host will be listed as compliant in the update manager tab.

compliant


Reboot.

From a system with vMware vSphere CLI installed on it, run the following command to verify the MEM installation. You will need the setup.pl script in order to run it. It’s included in the MEM download.

Enter the following command using your esxi hostname or IP:
# setup.pl --server=esxhostname_or_IP --query

Enter the credentials for the host. After a few moments, the command will display the version of the MEM installed, the default PSP that is now set as well as the vmkernal ports used by MEM.
verifymem

To list the new Dell EQL PSP as well as the defaults, use the following command:

# esxcli --server esxhostname_or_IP storage nmp psp list

Enter the credentials for the host.
listpsps

Multipathing is available immediately after installation. You can see the paths to the disk as well as the new PSP. On the host, go to the configuration tab+ hardware+storage+right-click the datastore + properties+ managed paths.

after-paths

This is what it looked like before the install:

before-paths

Here you can see that there were 2 active connections to each controller, however, only 1 was being used for I/O. Once MEM is installed, there are redundant active connections to each controller and the load is more evenly balanced.

As I mentioned before, the MEM is totally functioning, however, in order to use the new esxcli commands that are available to manage and report on, you’ll have to restart the hostd agent on the esxi host.

Enable SSH on your host and log into it.

Restart the hostd service:

# /etc/init.d/hostd restart

restart-hostd

The new commands are now available. To list them:
# esxcli equallogic

eql-cmds

Log out of the host and disable SSH.

Done!
For more information on Dell’s MEM, read this great blog post from Cormac Hogan of vMWare.

Social media & sharing icons powered by UltimatelySocial