There are a few prerequisites to assigning a domain name to a Lightsail instance.
- You must have a domain name registered with a provider of your choice.
- A running Lightsail server
- Static IP assigned to your server.
Assign Static IP to Lighsail server
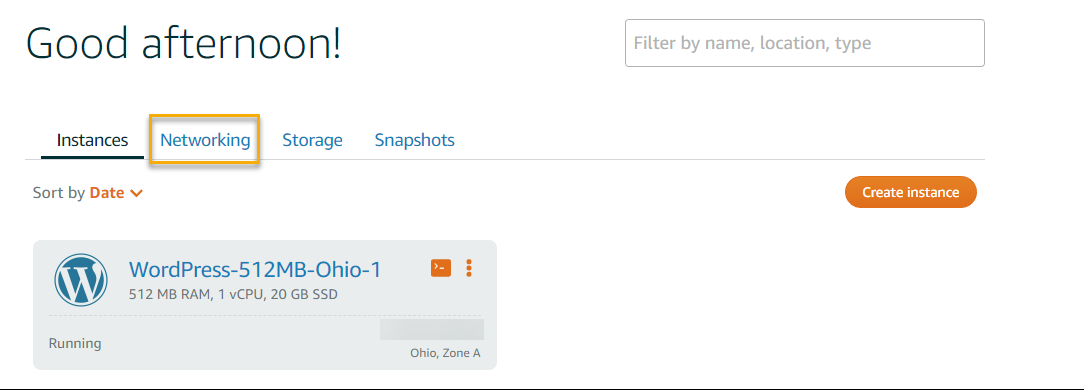
Log into the Lightsail Console and click on the Networking Tab
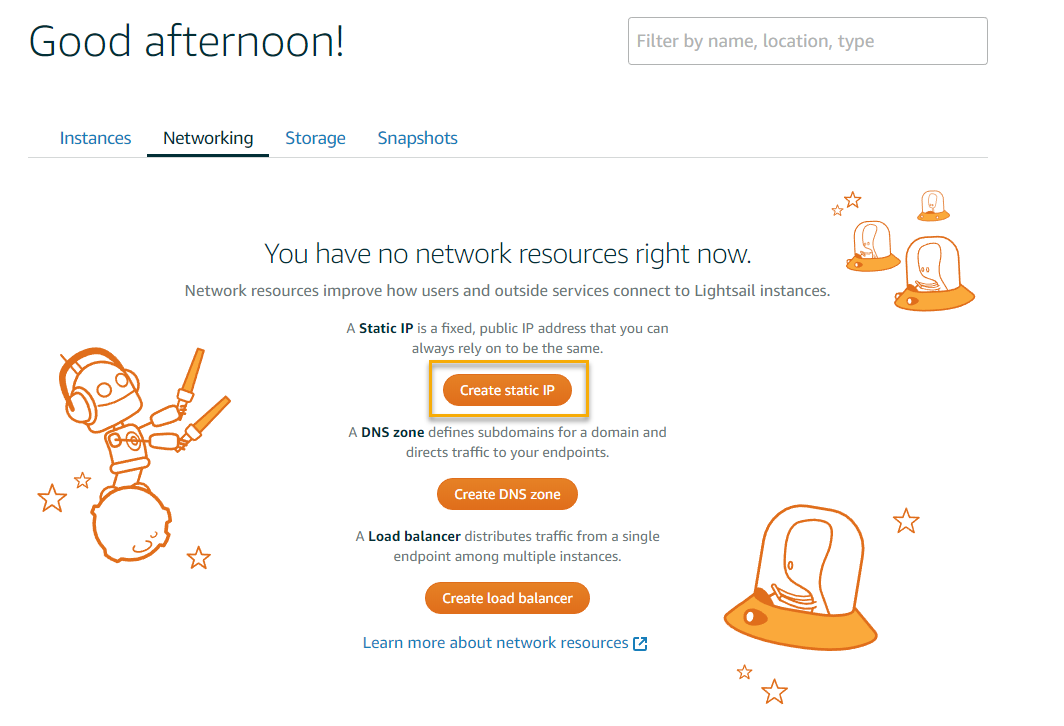
Click Create static IP
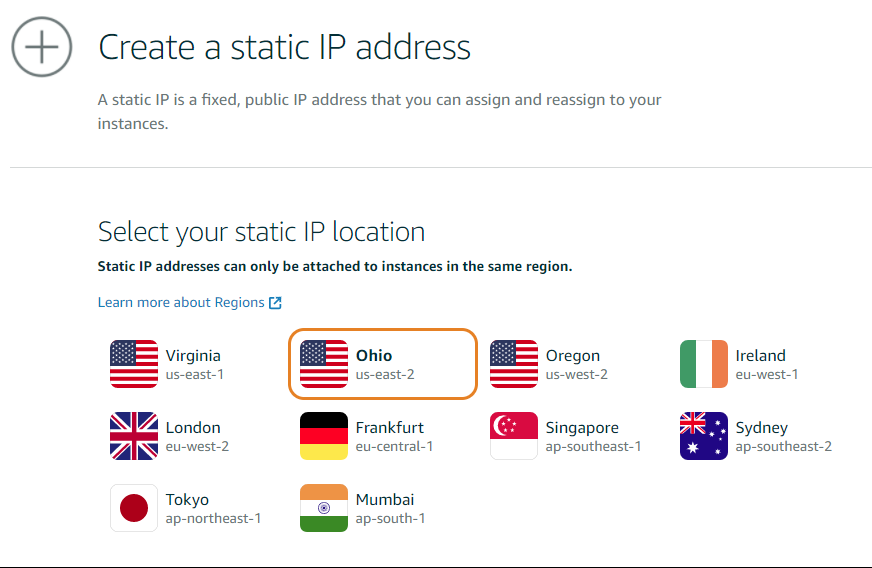
Select your static IP location. Note, you must already have an instance running in that region in order to attach a static IP to it.
Select the instance that you’re assigning the static IP to from the drop down box. Give your static IP an unique, recognizable name. Click create.
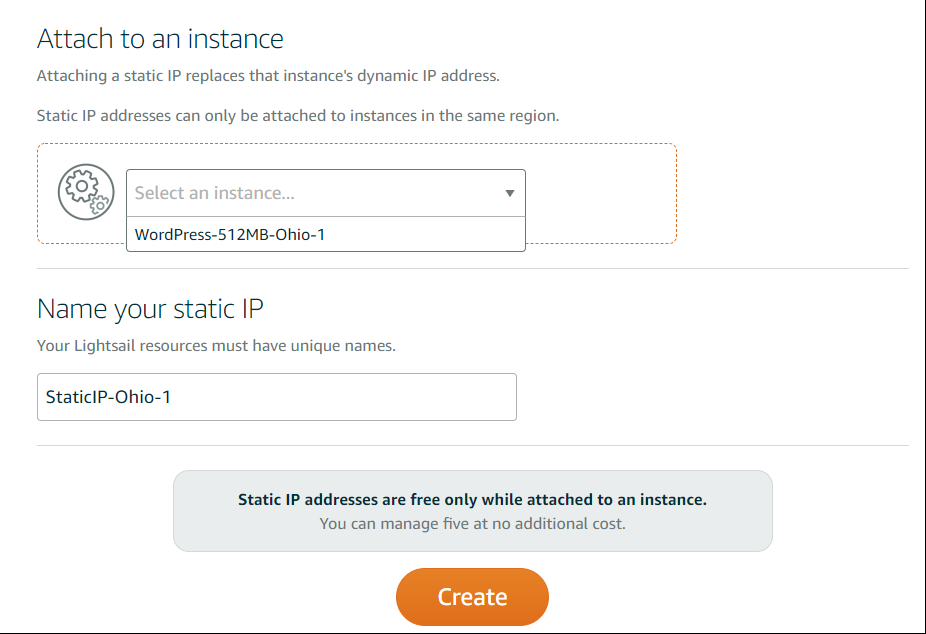
Once you’ve clicked create, your IP will have a pin next to it, noting that is it attached to the instance.

Assign DNS Zone to Lightsail server
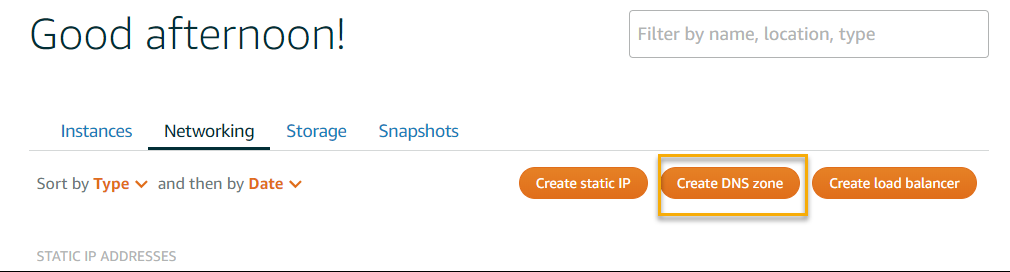
Click on the HOME menu at the top of the page. Click on Networking > Create DNS zone

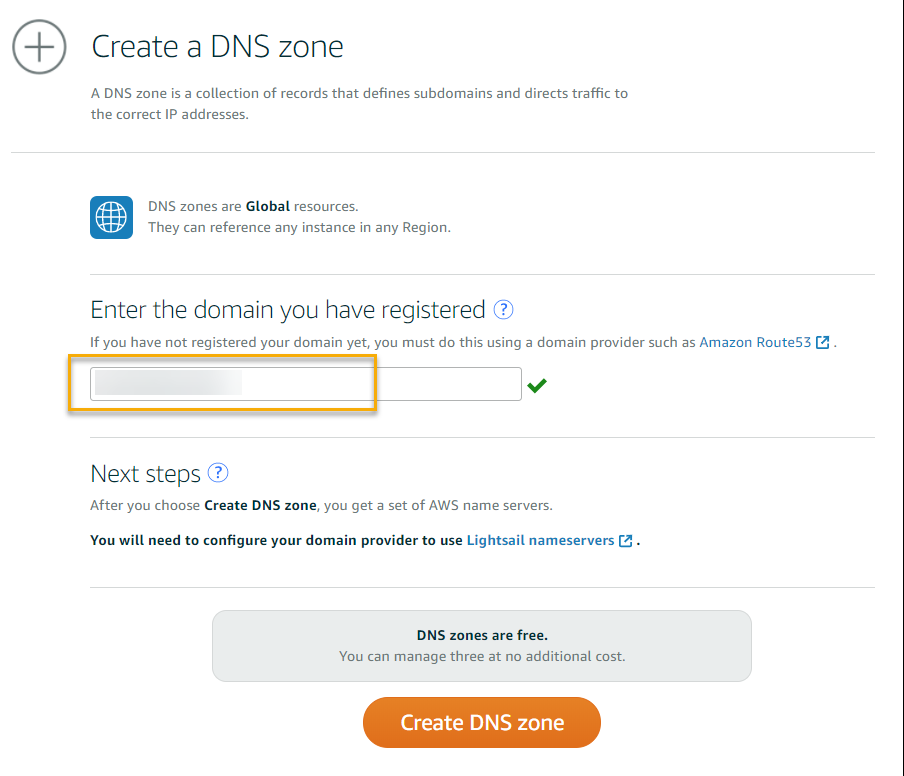
Enter your domain name and click Create DNS Zone.
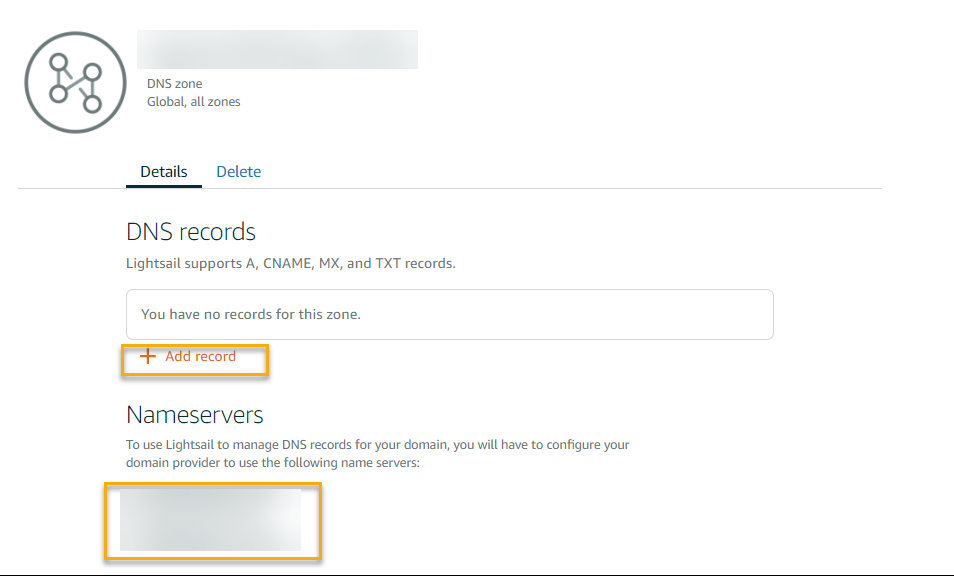
Click Add Record:
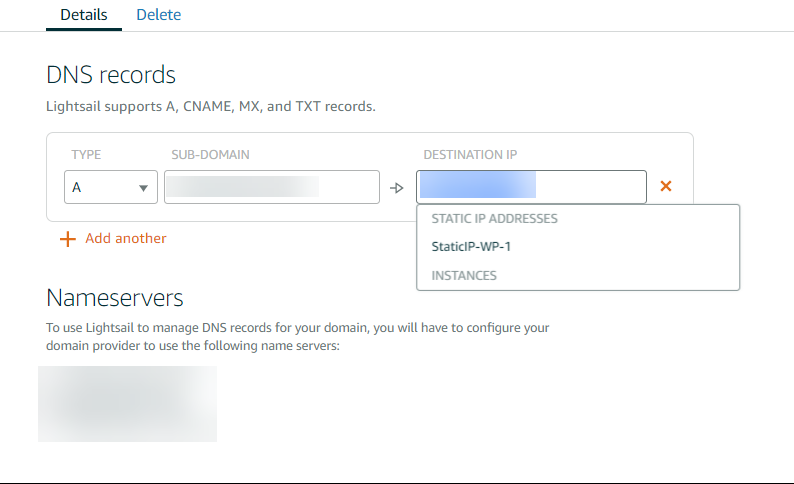
Add an A record:
Make sure the Type is A. Click in the subdomain box and enter www.yourdomain.com .
In the destination IP box, select your Static IP name and click save.
Nameservers:
You will be given a list of name servers to point your domain to. I’m using Hover and here is how I point my domain to my Lightsail server.
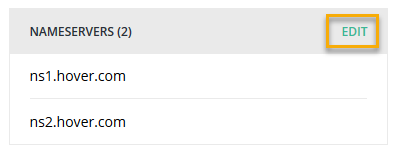
Log into your Hover account and on the overview tab, scroll down to nameservers and click edit.

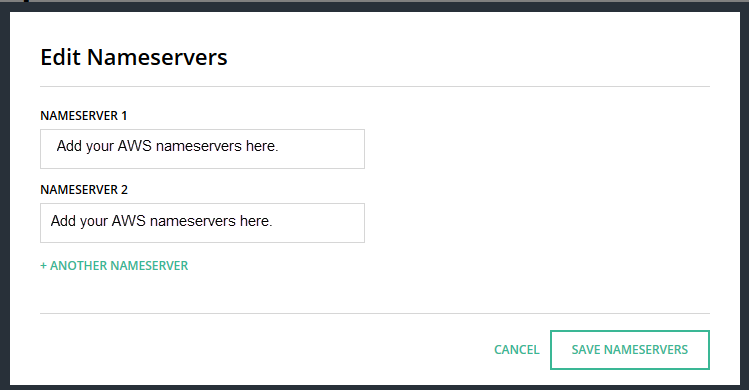
Enter the name servers give to you in the DNS records tab in your Lightsail console. You must add at least two. Add additional nameservers by clicking the plus sign. When you’re done. Click Save Nameservers.
Edit DNS Records:
Click on the DNS tab and review your current DNS settings. Click edit next to the A (*) record and enter the static IP or your Lightsail server.
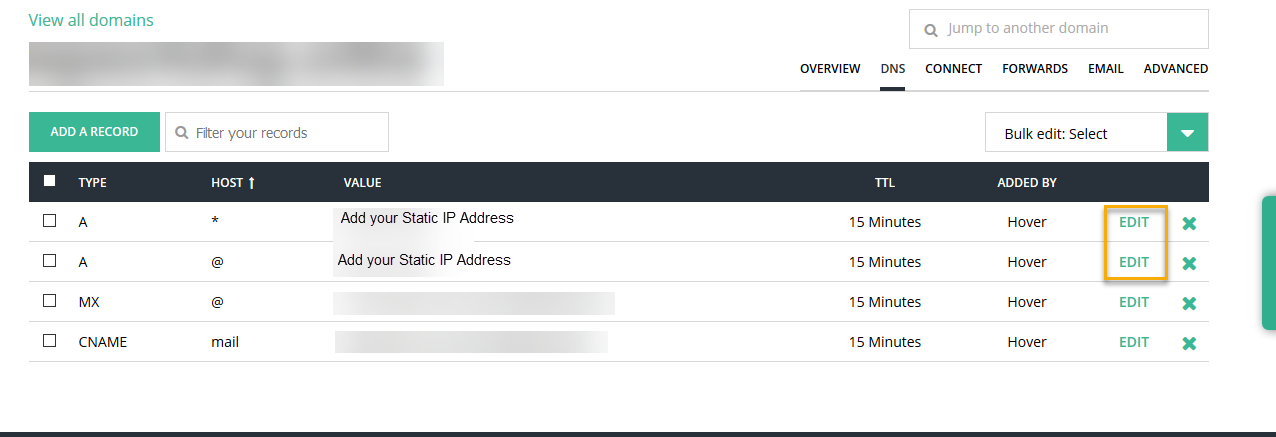
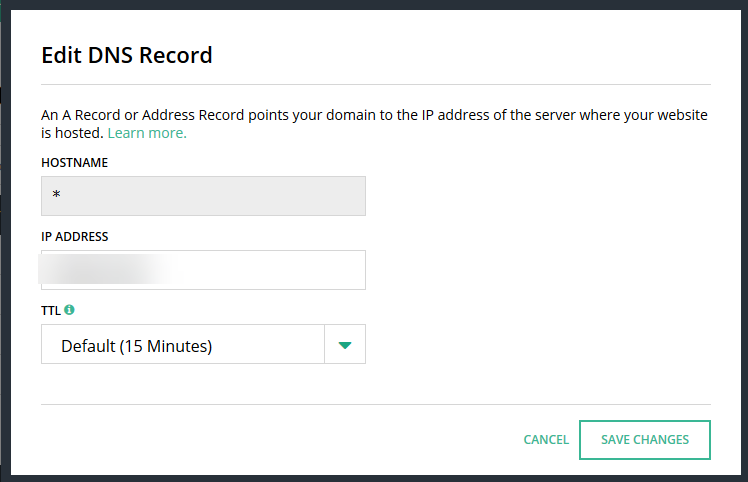
Click Save Changes and repeat for the A(@) record.
Test your changes by entering your domain name into a browser to see if your website loads.
If it doesn’t load immediately, be patient. It can take anywhere from 24-48 hours for DNS to propagate.