Equallogic has a great appliance that you can deploy to vSphere and use to provision datastores to your cluster, create smart copies, replicas and clones as well as configure replication. Equallogic Virtual Storage Manager (VSM) is a must have if you have storage running on either a PS or FS array. The latest version of VSM, v3.5.3 supports vSphere 5.5.
To deploy a new VSM appliance:
Download the latest OVA (v.3.5.3), release notes, installation and user guides, from equallogic’s website.

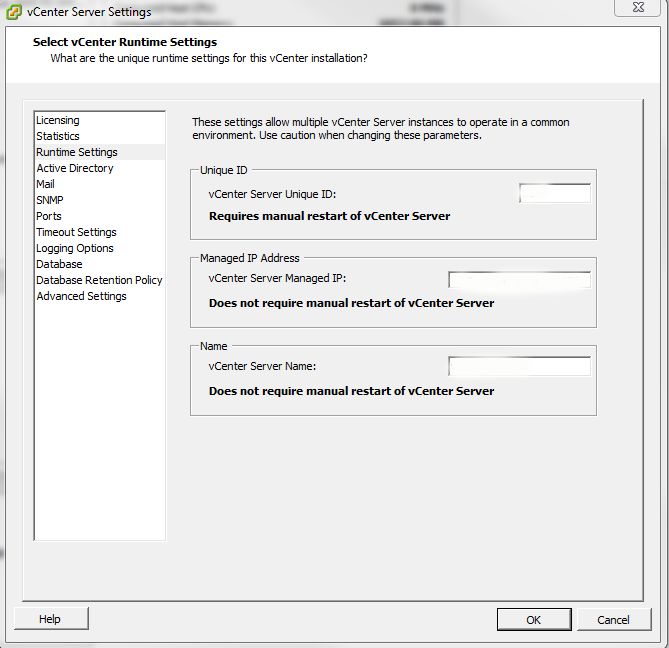
Using the vSphere client (not the web client), confirm the vCenter managed IP is set. This will ensure that VSM can identify and communicate the vCenter.
Administration + vSphere server settings + Runtime Settings. Confirm that vCenter’s IP and FQDN is listed, if not, add them.
Time to deploy:
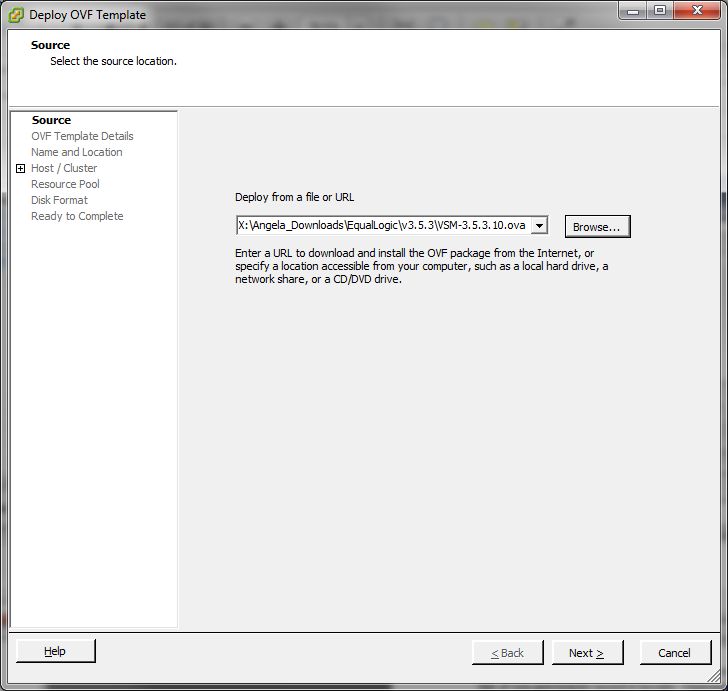
Click on File + Deploy OVF template. The deploy OVF template launches. Browse to the OVA file you downloaded. The appliance will need 15GB of space if thick provisioned (2.2GB if thin).
Click Next twice. Accept the EULA twice. Click next.
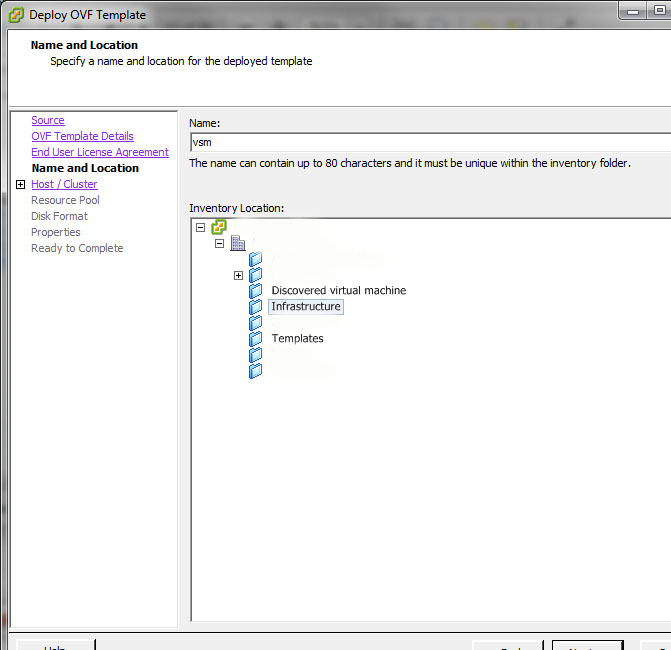
- Name the appliance as it should appear in vCenter. Select an inventory location, click next.
- Select the host/cluster on which the appliance should run. Click next.
- Select a resource pool, click next. Select the datastore, click next.
- Choose a disk format. Thick provisioned is a good choice. Click next.
- If prompted to select a network where the NIC should be attached, choose it from the drop down and click next.
VSM Properties:
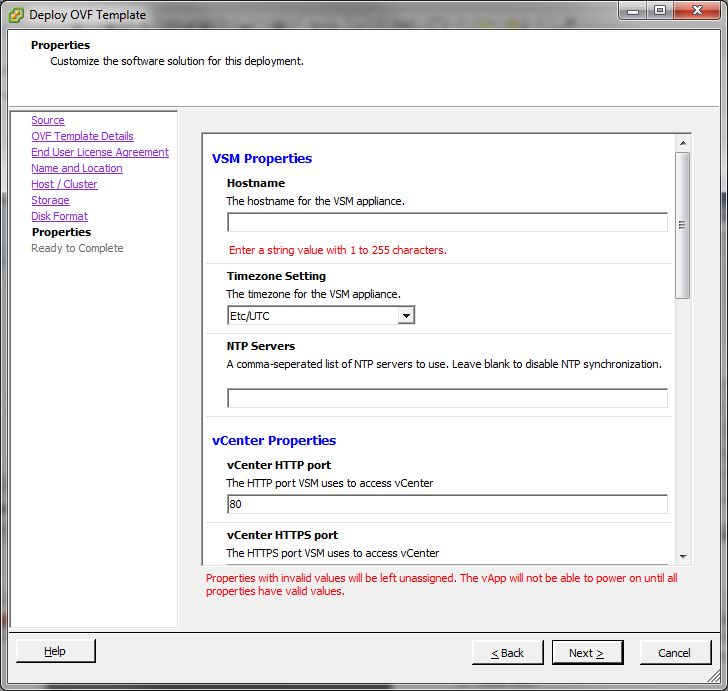
Enter the values as required and click next.
- FQDN hostname
- Time zone
- NTP servers
- vCenter http and https ports
- vCenter username
- vCenter password
- Default gateway
- DNS servers
- IP address
- Netmask
Review the settings. Click the check box next to power off after deployment and click finish. Close the ‘completed successfully’ dialog box.
View the task & events tab on the vsm appliance to check the status. Look for the “VSM server starting up” entry. This confirms the appliance is ready.

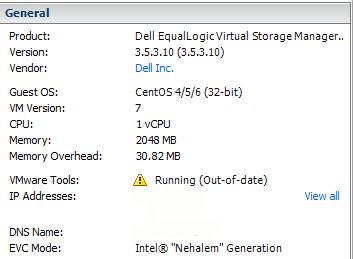
Review the summary tab of the VM. Do not update VMware tools on the appliance. This just means that the VMware updated tools after the appliance was released. You can safely ignore the out of date tools status.
Enable the VSM plug-in:
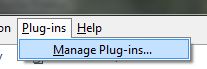
Click on Plug-ins + Manage Plug-ins. Right click on the VSM plug-in and click enable.

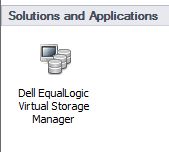
Close plug-in manager & confirm that Dell EqualLogic VSM is listed under solutions & applications.
When the appliance is deployed successfully, click close and launch the VSM console.
The default credentials are root/eql
Change the default password:
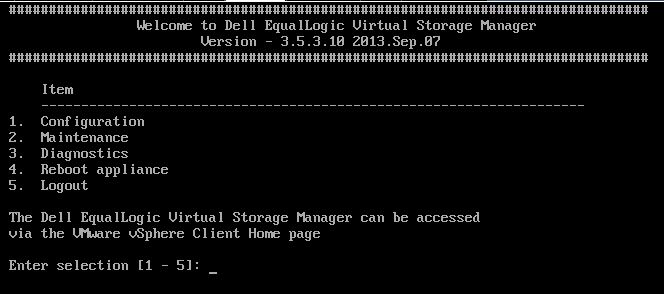
Select 1 + Select 4
Enter a new root password. Press enter to return to main menu.
Configuring VMware vSphere Storage APIs for Storage Awareness (VASA)
For more info on VASA, read Cormac Hogan’s blog post.
Select 3 to configure VASA
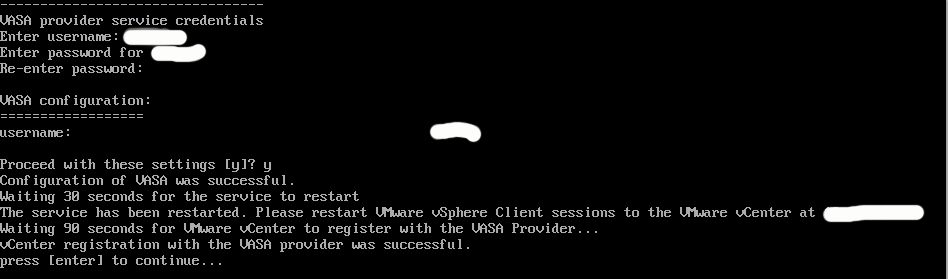
Press enter to continue and restart your vSphere client.
Launch VSM:
Click on Home and launch VSM & log in with your vSphere admin credentials.
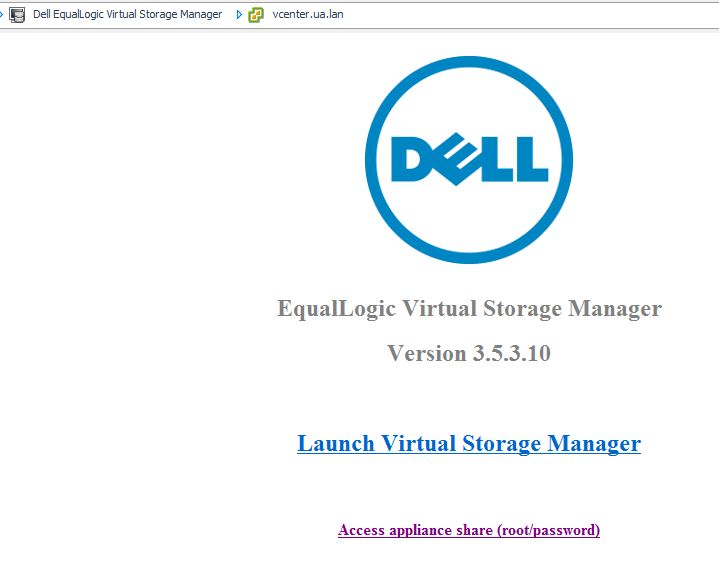

These are the vCenter credentials you use to log into the client.
Configure Storage Network (optional):
Click the configure VSM properties icon in the toolbar.

Enable the 2nd nic in the VSM server and configure it with an IP on your iSCSI subnet. You’ll have to already have a port group configured to see that subnet or else, the enabled check will be grayed out. *Note*The storage network can only be configured from the gui. This is a setting that cannot be set from the CLI.

Click OK to close. You’ll be prompted to restart. Restart the vSphere client as well. When the VSM server is back up (see console), enable the plug-in.
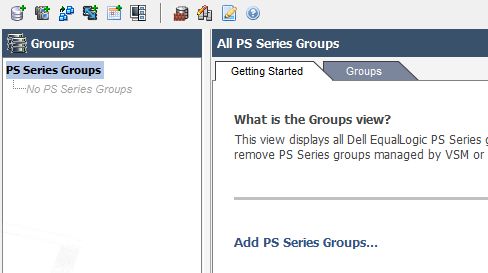
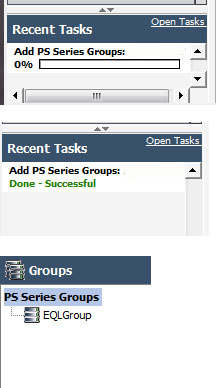
Add a PS series group:
Click Groups in the navigation pane. Under the getting started tab, click Add PS series group.
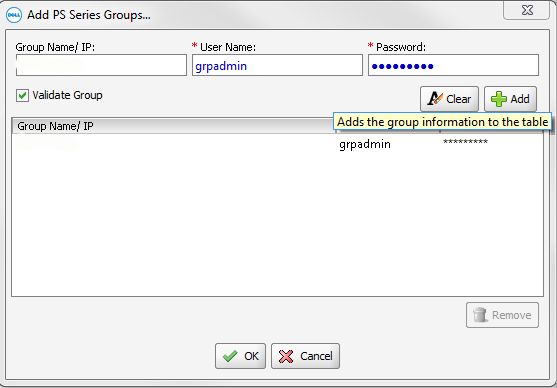
In the add PS series group box, enter the group name or IP and credentials (I suggest using grpadmin). Click add and OK.
Monitor recent tasks to see when it’s complete.
You’re done.