Tag: group manager

Updating the Drive Firmware on EqualLogic arrays

When you’re updating the firmware on EqualLogic arrays, this is also a good time to update the firmware on the hard disks as well. Check the recommended hard disk drive firmware on the eql support site (login required). Compare your hard drives revision number against the ones listed under the ‘affect hard drives’ section of the page. Open either group manager or San HQ and review the current firmware revision.

Confirm current drive firmware version

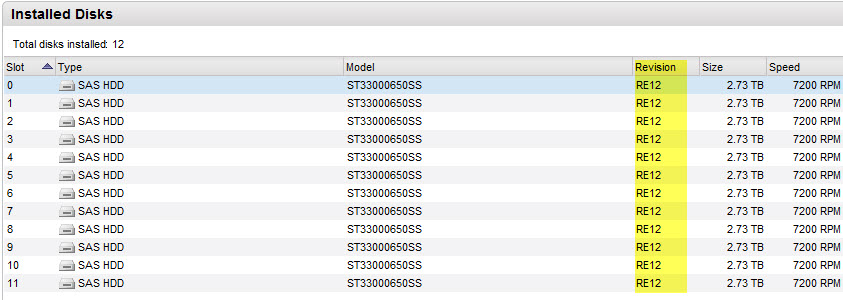
In group manager, Group + Members + Array + Disks tab.

version of your disk drives

In SanHQ, Default Server + Select Group + Hardware /Firmware + Disks

disk_fw_list_sanhq

If you find your disks drives require a firmware upgrade, plan to update.

FTP the firmware update to the array

Download the firmware update kit from the EQL support site.  FTP to the array.  Here is an example:

Open the connection to the array via IP or hostname and log in with an account that has admin privileges, like grpadmin.

Change to binary mode and ‘put’ the kit_vxxxx_DriveFW_xxxxxxxxxx.tgz file on the array. Once the transfer is complete, close and bye.

ftpupL

Run the update

Now, SSH into the array and begin the update.

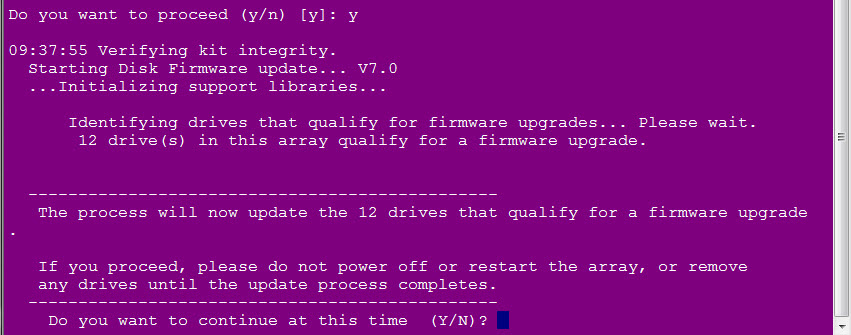
Type ‘update‘ and confirm that you’d like to proceed with the update.

update

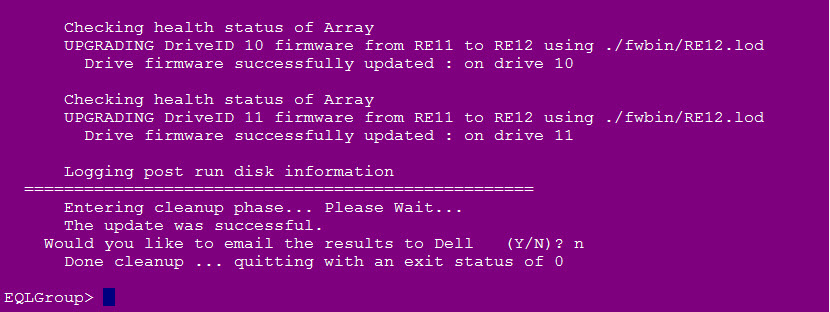
Depending on the number of drives in your array, this will only take a few minutes.

update-done

yes

Confirm new firmware version

Check group manager or SAN HQ and confirm your new hard drive firmware version.

newfw-sanhq newfw-group


Updating the firmware on Dell EqualLogic arrays with Dell Update Storage Manager

The Dell Storage Update Manager (DSUM) is a great new tool that makes updating your array firmware, drive firmware  and language packs easier. Launched summer 2014, this application that can be installed locally or ran remotely via a java based app, is your new recommended way to update your groups.  To use it, you must be running at least v5.0.0 PS series firmware or FS series firmware 3.0.0 or higher.  This wizard will walk you through assessing the current state of your groups and guide you through the updates step by step.

To download the application, login to your EQL support account. Also, download your firmware, disk drive firmware and your language packs (if applicable). To run the java web app, follow this link

http://psonlinehelp.dell.com/dell-storage-update-manager/

and open with Java web start launcher.
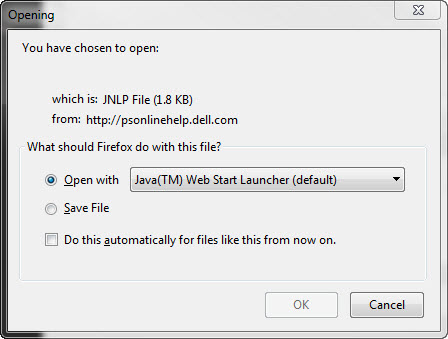
launch java app

Log into your group with administrative credentials.

Dell Storage Update Manager Login

Once logged in, you can review the status of your group firmware, disk drive firmware and language packs.
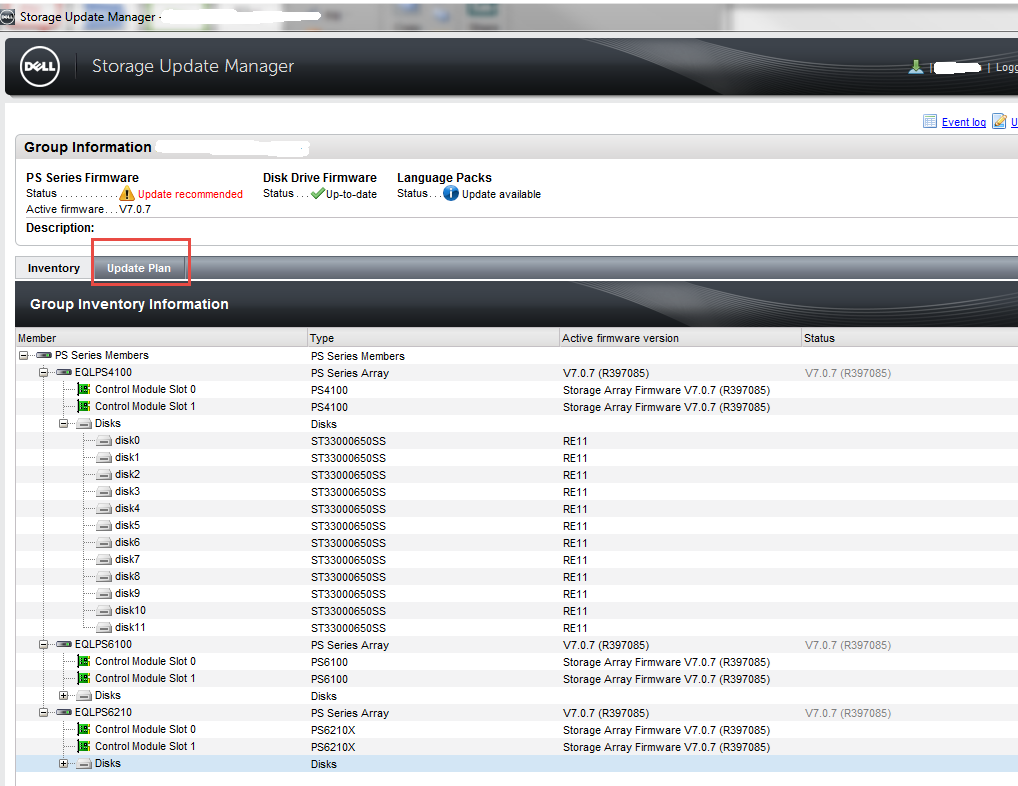
group inventory overview

Click on Update plan to being the update wizard.
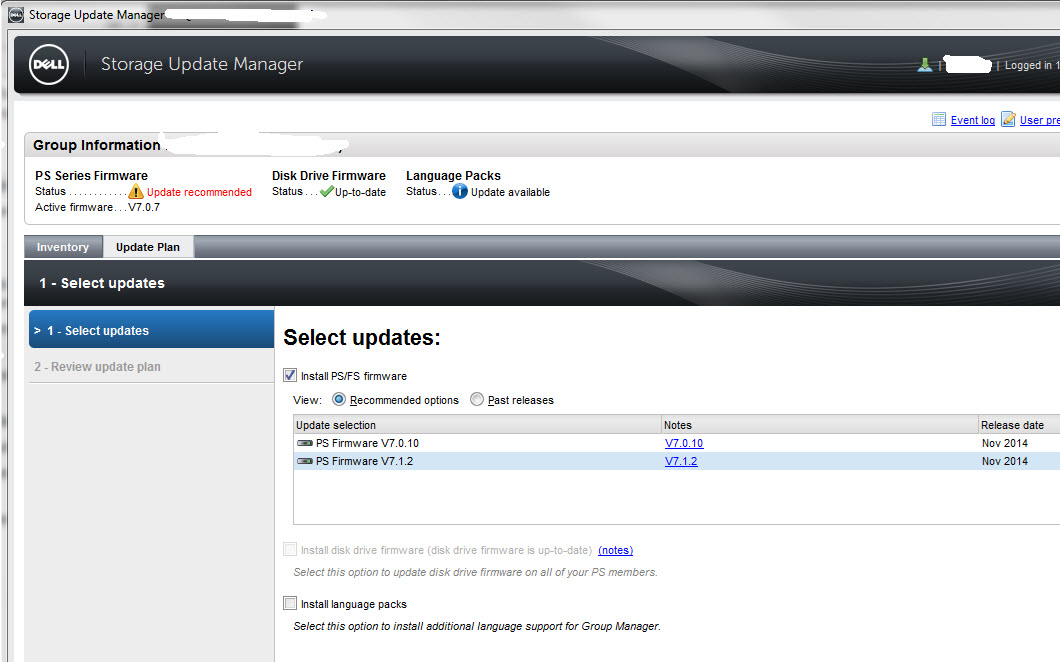
selectupdates

Here is where you select the updates to be installed.

update plan summary

Review  the updates you’ve selected. The Update plan summary will give you an estimated time for the updates to completed.
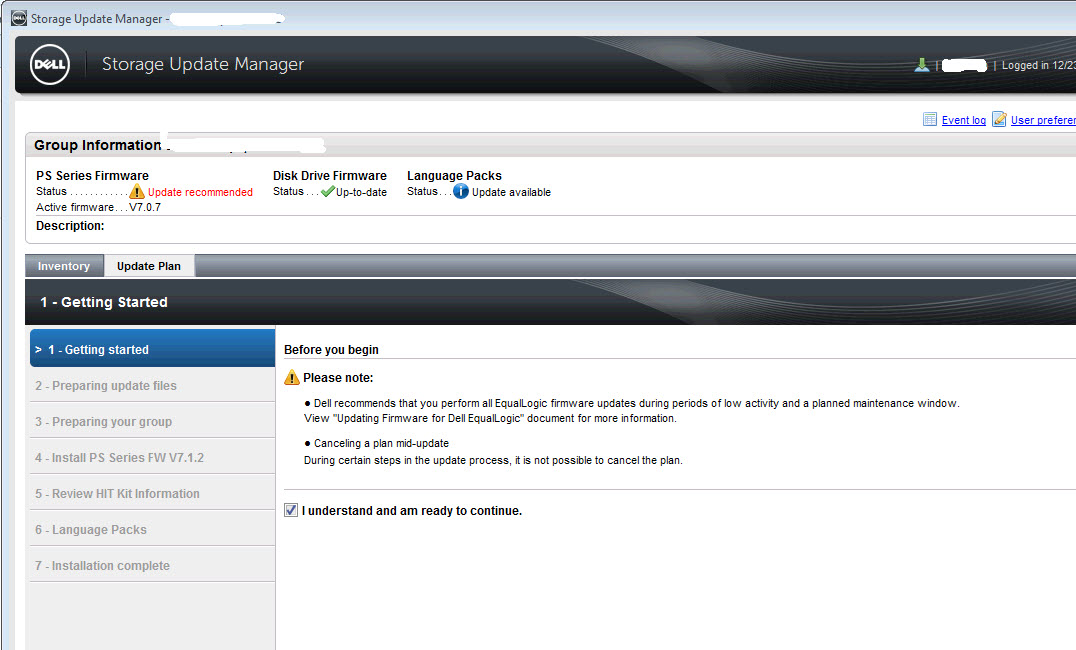
Getting Started

On the getting started screen, you’ll get a quick reminder to perform the update when their is low activity and during a pre-planned maintenance windows.  Check the box to confirm you understand the ramifications.
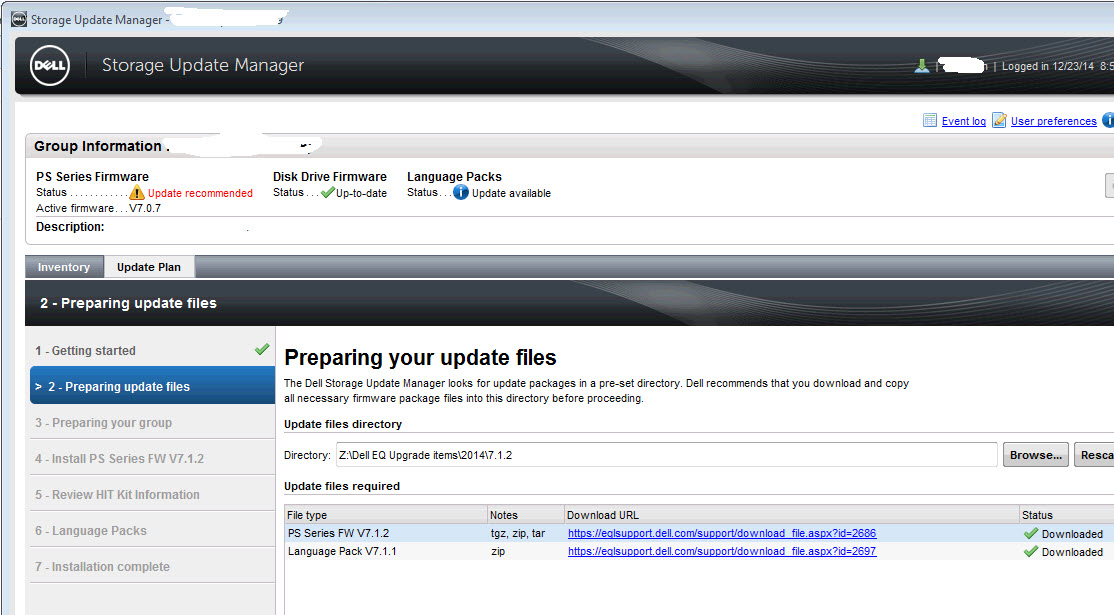
Preparing your update files

Upload the files needed to update your array, drives, and language packs.

Prepare your group

The app will review if their are any issues detected on your group that may prevent updates from running. Some issues that may prevent an update are:

  • RAID is in a degraded state
  • There are active errors or warnings in the log file
  • There are disk errors or issues
  • Controller issues
  • Space issues
  • High I/O
  • Replication is occurring
  • Volumes are migrating

Install Updates

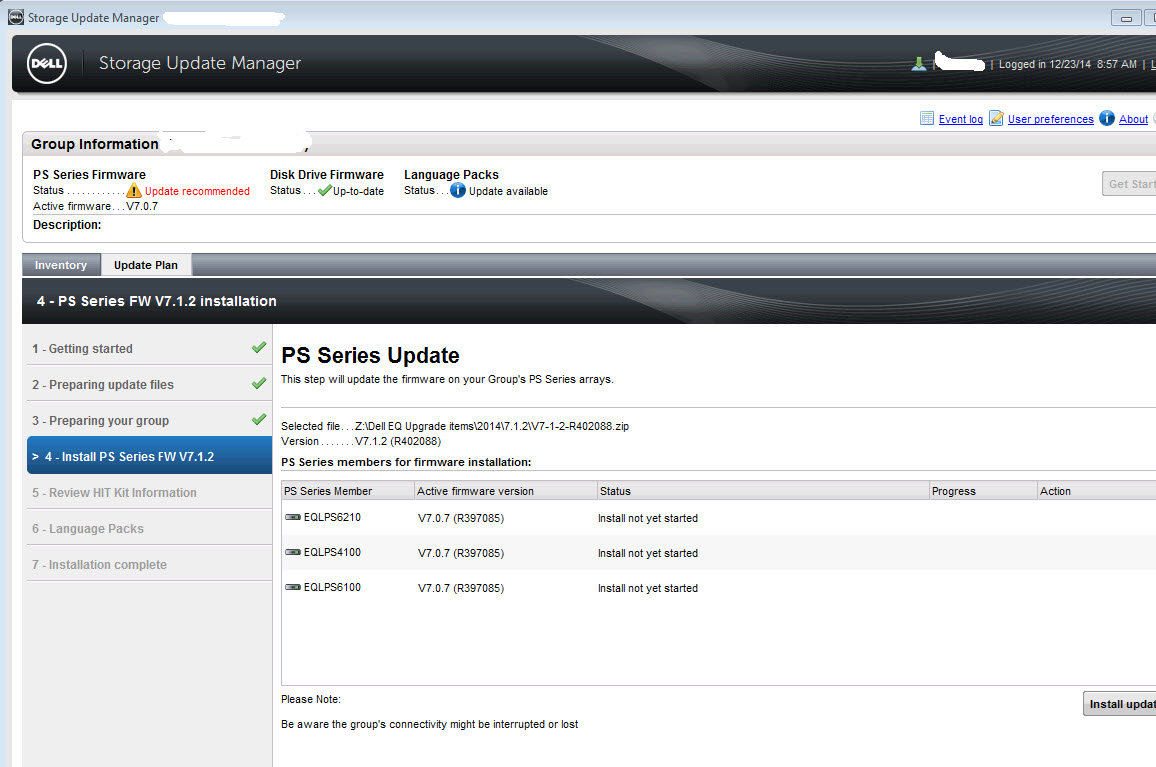
The next screen in the wizard is the 1st step in updating your array’s firmware. Review the information and click install update.

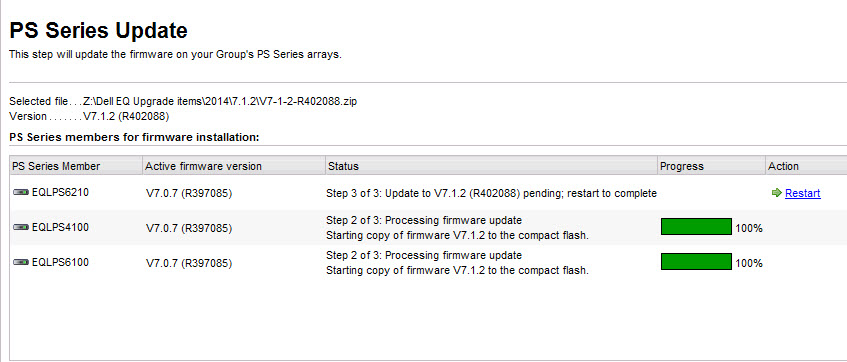
The installation begins and will display the progress  and the current status. you can also review this information in group admin under group operations.

  • The 1st step is the FTP transfer of the zip file to the array.
  • The 2nd step is the actual update.
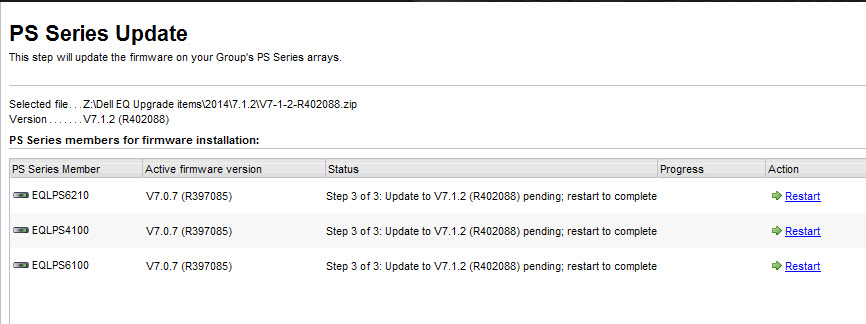
  • The 3rd step is the update pending restart.
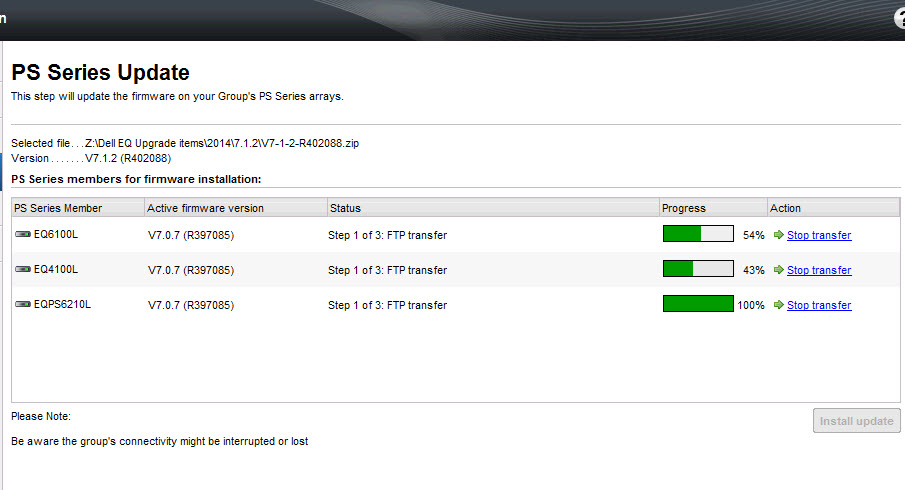
step1

step2

step3

Once the update is complete and pending a restart, click ‘restart’ to proceed.  You’ll be  warned about the restart and it’s ramifications. Repeat for each array.

restart

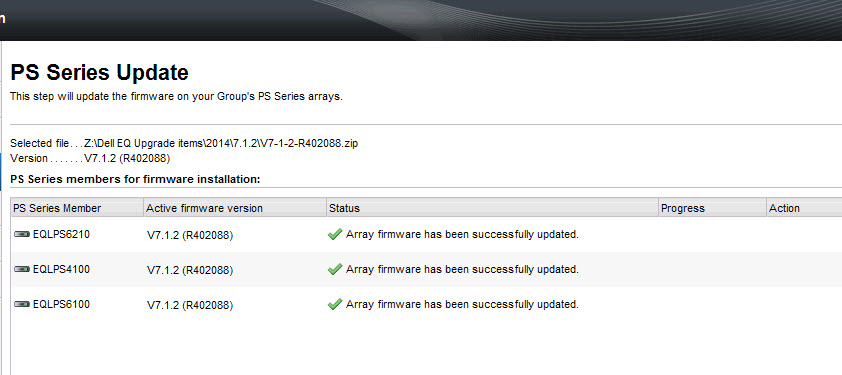
complete

The update is complete. The HIT Kit compatibility screen with remind you to confirm that all EqualLogic software in use in your environment  is at the versions listed.
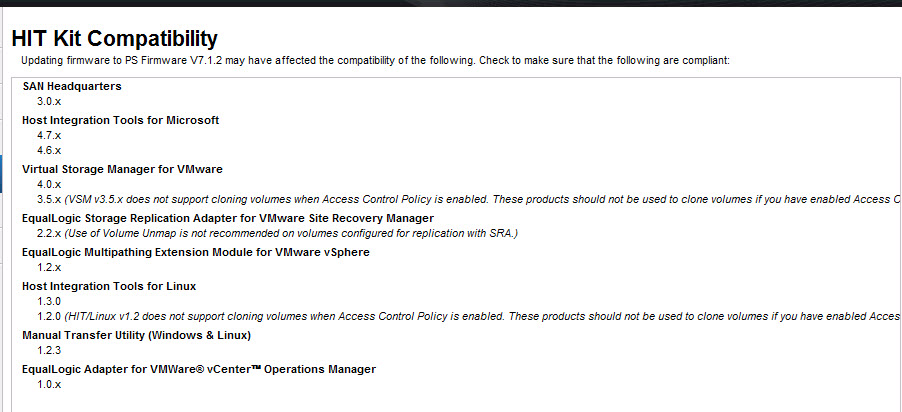
hit

Follow the subsequent prompts for updating the drives and language pack (if aplicable)

Once all installs are done, you’ll get the ‘installation complete’ screen that summarizes what took place.
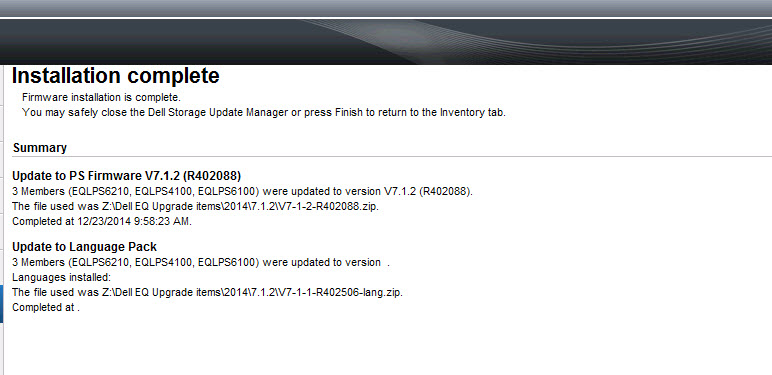
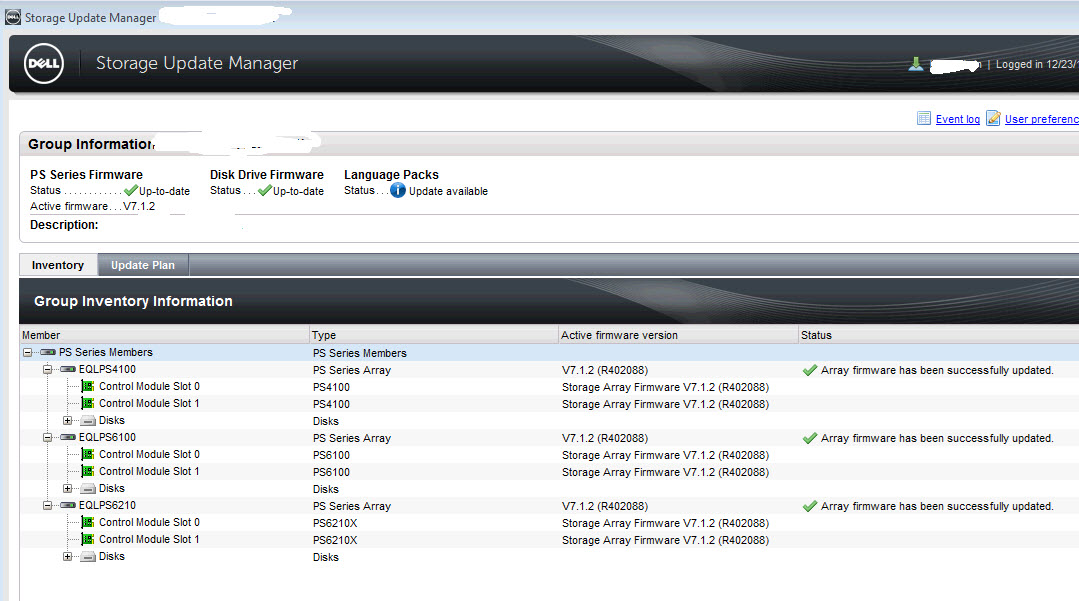
installcomplete

update successful

EqualLogic Cloning an Inbound Replica

I have a dev server that’s my sandbox for VMware VCA studying. This Dell PowerEdge 2900 is on it’s last leg. It has an iSCSI disk that houses a bunch of ISOs, installers, docs, etc that is being replicated to another EQL array. The old PE is located behind my desk and is loud as a 747 taking off when it powers up.I will NOT miss this thing at ALL!

I have a new PowerEdge R420 that I’ve moved my development environment to and it lives in an offsite data center. I want my iSCSI disk attached to my new server, but I don’t want to stop replication on my current disk until the server is wiped and hauled off. The beauty of EqualLogic is their arrays are wonderfully easy to administer and makes any takes relatively easy.

Since the disk is replicated and I don’t want it to stop replicating right away, but still would like to have the current data to use and access immediately on my new server. Yes, I could have mapped a drive, but if the 2900 dies, I’m still up and running without even a hitch.

That’s where cloning an inbound replica comes in.

From the outbound group manager, make sure you’ve replicated your volume.

confirm_volume_replicated

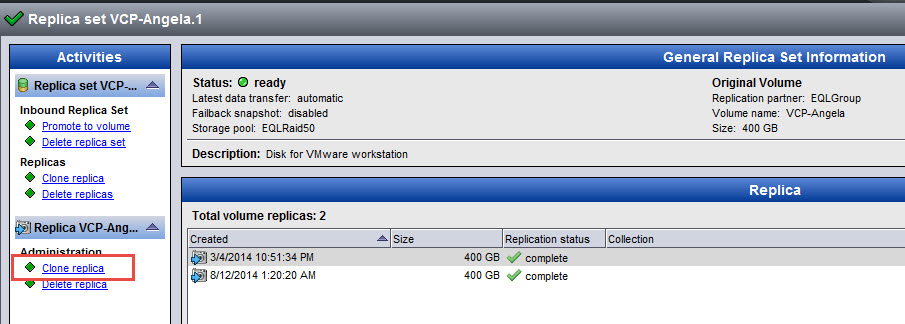
From the inbound group manager, Go to replication and expand inbound replicas. Select your replica so the information appears in the right pane. Click clone replica.

clone_replica

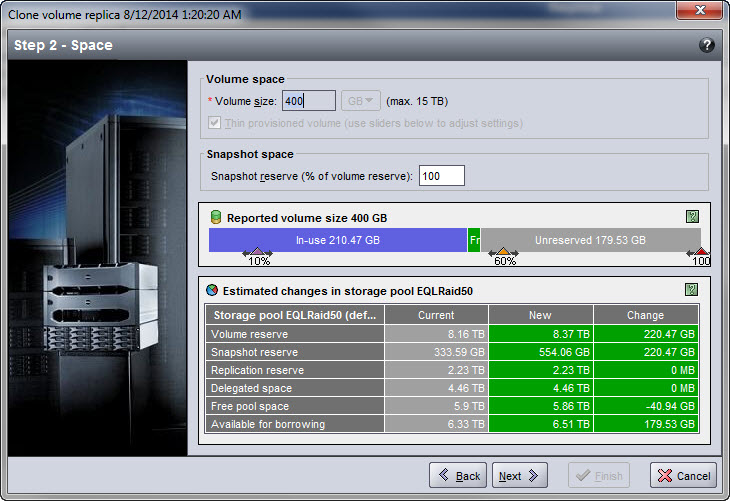
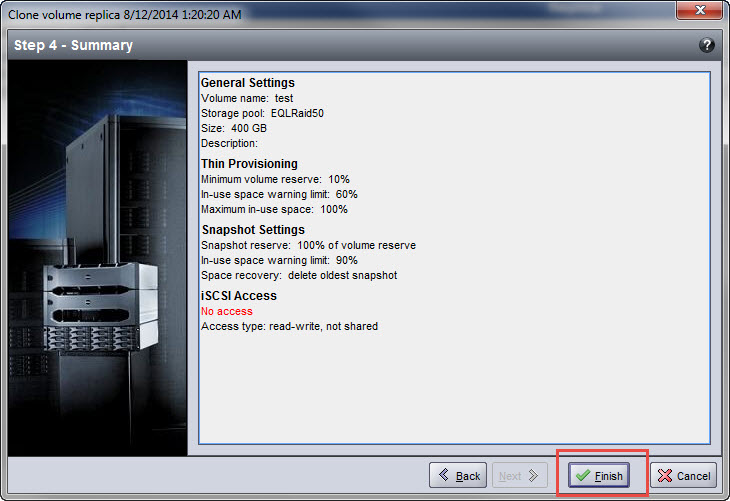
The wizard will guide you through the process of cloning your replica. On step 2, change the snapshot reserve if you need to. Step 4, review the summary and click finish.

change_snap_reserve

finish_clone_replica

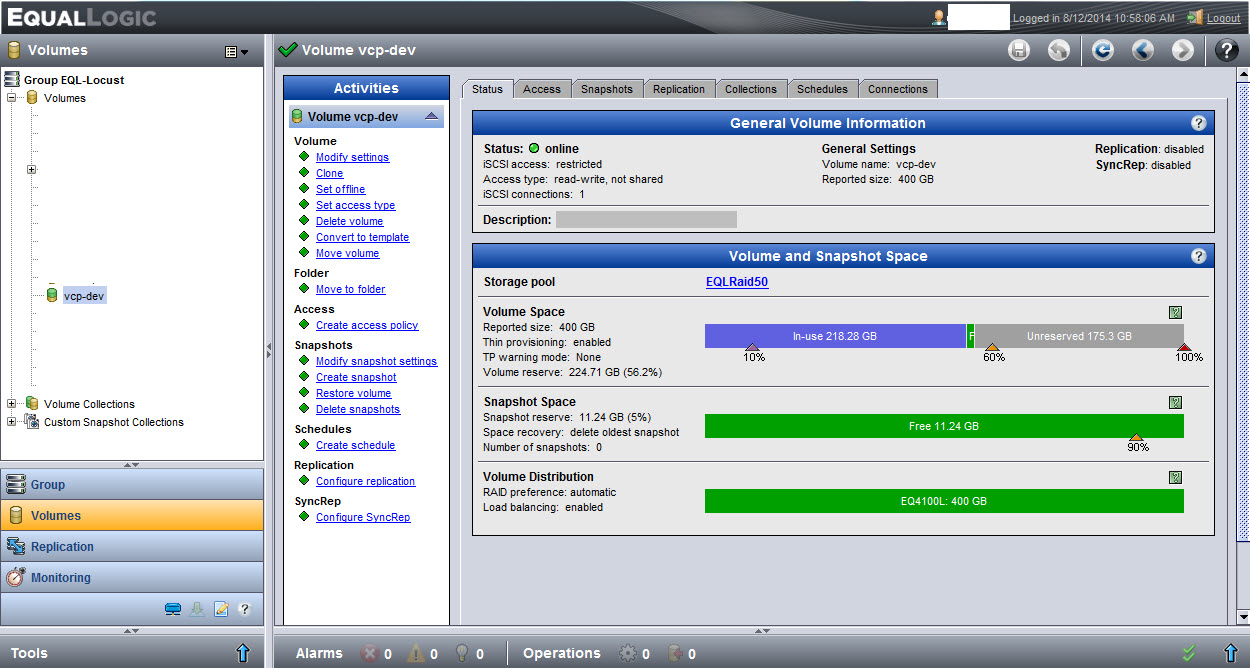
Your new volume will appear in the volume list. Present it to the new server if you didn’t during the clone volume replica wizard and you’re in business.


new_vol


Social media & sharing icons powered by UltimatelySocial